Ruckus routers are known for their advanced networking capabilities, making them a popular choice for both residential and enterprise setups. To configure or troubleshoot your router, logging into the admin interface is a necessary first step. In this guide, we’ll provide a comprehensive overview of Ruckus router login links, detailed instructions on accessing the admin panel, and a step-by-step guide to change your SSID and password for better security and personalization.
Contents
Default Login Links for Ruckus Routers
Common Ruckus Router Login URLs
To access the admin interface of your Ruckus router, use one of the following default login URLs or IP addresses:
- Default IP Address: http://192.168.0.1 or http://192.168.1.1
- Alternative URL: http://ruckuswireless.com
These addresses work when your device is connected to the router via Ethernet or Wi-Fi.
When to Use These Links
- Configuring the router for the first time.
- Updating the SSID or password.
- Diagnosing network issues.
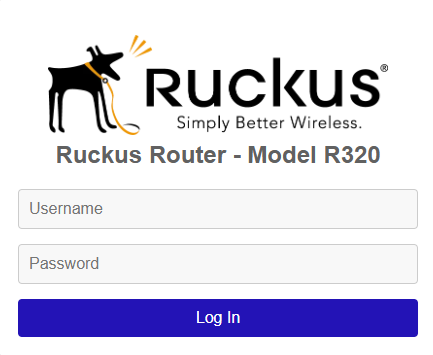
How to Log In to Your Ruckus Router
- Connect to the Network
- Use an Ethernet cable or connect to the router’s Wi-Fi network to establish a secure connection.
- Open a Web Browser
- Launch any browser on your device and enter the default IP address or URL (e.g., http://192.168.0.1) in the address bar.
- Enter Login Credentials
- Default Username:
admin - Default Password:
admin(or refer to your router label for specific details).
- Default Username:
- Access the Admin Dashboard
- Once logged in, you’ll be directed to the admin interface, where you can manage network settings and security features.
How to Change SSID and Password on a Ruckus Router
Why Update Your SSID and Password?
Customizing the SSID and password enhances your network security, making it less vulnerable to unauthorized access. It also allows you to personalize your Wi-Fi for easier identification.
Steps to Update SSID and Password
- Log In to the Admin Panel
- Follow the login instructions mentioned earlier to access the admin interface.
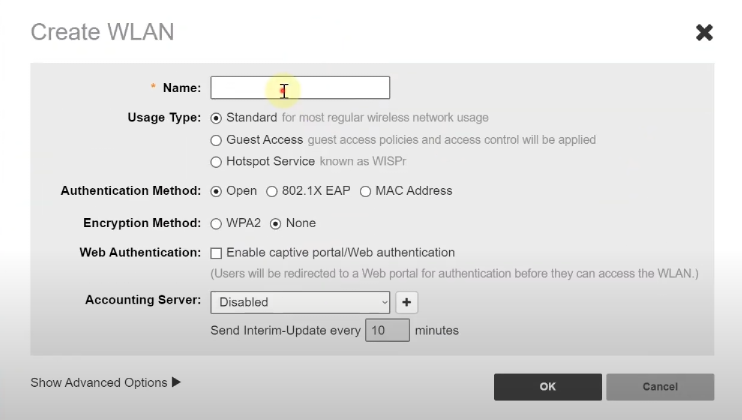
- Navigate to Wireless Settings
- In the dashboard, go to Wi-Fi Settings or Wireless Settings, depending on the router model.
- Change the SSID
- Locate the field for SSID or Network Name and input your desired Wi-Fi name.
- Update the Password
- Under the Security Settings section, select WPA2-PSK for maximum security.
- Enter a strong and unique password in the Passphrase or Password field.
- Save Changes
- Click Apply or Save to confirm the updates.
- Reconnect all devices to the new network using the updated SSID and password.