DrayTek routers are widely used for their robust features and reliability. This guide will walk you through the process of logging into your DrayTek router, changing important settings like your SSID and password, and understanding the key aspects of managing your router effectively.
How to Logging Into Your DrayTek Router
To access the configuration settings of your DrayTek router, follow these steps:
- Connect Your Device: Ensure that your computer or laptop is connected to the router via an Ethernet cable for a stable connection. Alternatively, you can connect wirelessly if your network is already set up.
- Open a Web Browser: Launch any web browser (Chrome, Firefox, etc.).
- Enter the Router’s IP Address: In the address bar, type
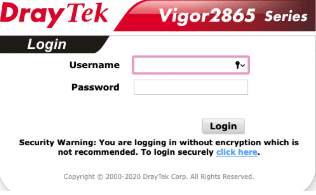
http://192.168.1.1and press Enter. This is the default IP address for most DrayTek routers. - Login Credentials: A login page will appear prompting you for a username and password. The default credentials are:
- Username: adminPassword: admin
Changing Your SSID and Password
Once logged in, you can change your Wi-Fi network name (SSID) and password:
- Navigate to Wireless Settings:
- Click on Wireless LAN in the main menu.
- Select General Setup to change your SSID.
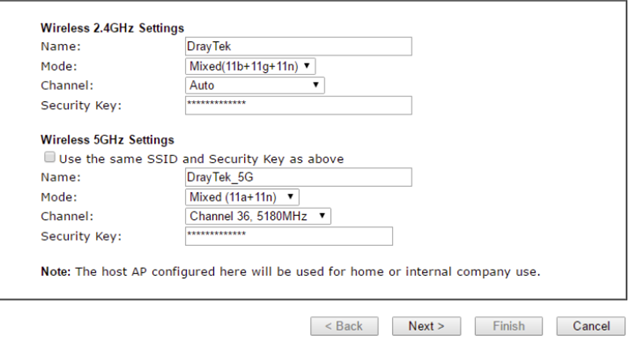
- Change SSID:
- In the SSID field, enter your desired network name.
- Click OK to save changes.
- Change Wi-Fi Password:
- Go to Wireless LAN > Security.
- In the Pre-Shared Key (PSK) field, enter your new password.
- Click OK to apply the changes.
If your router supports dual-band, remember to configure both 2.4 GHz and 5 GHz settings separately if necessary.
Accessing and managing your DrayTek router is straightforward with this guide. By following these steps, you can ensure that your network remains secure and tailored to your needs. Remember that maintaining updated firmware and secure login credentials are key practices for any network administrator.